Your home is meant to be a place of safety and security. The moment a crack appears on your wall, it can be a cause for alarm. Don’t panic right away, however. Many can be cosmetic, while others could indicate a foundation problem. Once a foundation repair is complete, you will probably want to immediately repair the cracks that appear in your drywall or sheetrock.
What Causes Cracks in Walls and Ceilings?
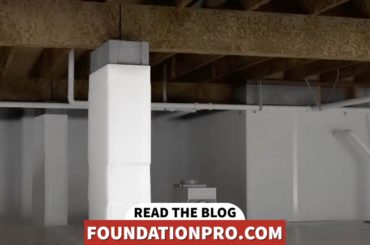
The soil underneath your house could deform under the weight of it, sometimes causing your foundation to shift from its position. This is known as “settlement” and is a natural phenomenon in the course of any home’s life. Some homes may also have faulty foundations to begin with.
These scenarios necessitate foundation repair. Sometimes cracks in your walls and ceilings will arise due to the repair process and the leveling of the house, as the structure tries to shift back into place.
How To Repair Sheetrock Settlement Cracks
“How do I repair the cracks in my sheetrock?”
This is one of the most commonly asked questions of what to do next after a home’s foundation has been repaired. As a home shifts during the settlement process, it is typical to see cracks appear in the sheetrock.
Even though these cracks may close during the leveling process, they may still need to be addressed cosmetically. No one wants to live in a house where cracks on the walls and ceilings greet you every day.
The following information is to help guide you to do it yourself or to tell you what to expect if you hire painters, handymen, or contractors for crack repair. We typically recommend waiting about 4 weeks after foundation repairs have been completed. If done correctly, the repair should make the previously damaged sheetrock appear as good as new.
Step-by-Step Sheetrock Settlement Crack Repair
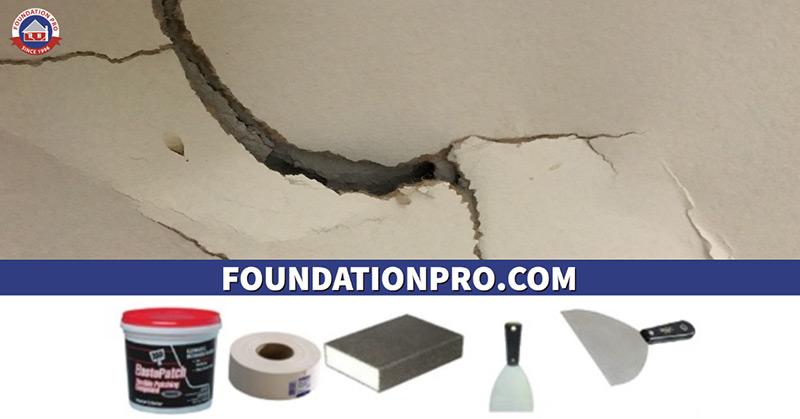
Before you can tackle the problem of a crack on wall, you’ll need the right tools. Here’s a short list of the items you will need:
- All-Purpose Joint Compound
- Paper Drywall Tape
- Sanding Block or Sandpaper
- 6-inch Putty Knife
- 8-inch Putty Knife
First, use the sandpaper to sand down the area around the crack so that it’s smooth, with no rough edges. Next, use one of your putty knives to embed an all-purpose joint compound into the length of the crack, at least ⅛ inch deep.
To achieve the best results for your crack repair, you’ll need to spread the compound about an inch wider than the drywall tape you have chosen to use. Try to make the coat as smooth as possible.
Afterward, you can apply the drywall tape over the joint compound on the wall. With one hand, use a putty knife to hold the tape in place. Use the other hand and a separate putty knife to scrape away any loose compound.
Then, apply a thin coat of compound over the tape and a few inches around it. Repeat the previous step of scraping loose compound away around the tape. Let it dry overnight. Most joint compounds typically take 6-8 hours to dry, but this may vary by manufacturer.
After the compound has dried, scrape away any loose dried compound with your putty knife so that the texture is smooth. You may also choose to gently sand it with fine sandpaper. At this point, the crack on wall should be covered completely, but the drywall tape and the joint compound will still be very obvious.
To begin blending it with the wall, apply a second coat of compound using a larger size putty knife. This coat will extend a few inches wider than the tape. Gently scrape or “float” across the area with your putty knife until the knife marks in the compound disappear. Let this second coat dry.
Repeat the previous steps of scraping and sanding any loose compound. Apply a third thin coat and layer it even further away from the tape so that it blends with the rest of the wall. The more it blends in with the rest of the wall, the more professional the final results will be.
Gently scrape the area again so that the knife marks go away. Allow this to dry for 24 hours and then gently sand it with very fine sandpaper. Now you’ve completed your crack repair and the wall is ready for a primer base and paint!
In Need of Foundation Repair? Hire Professional Foundation Contractors to Do the Work for You!
Cracks in your walls and ceilings may be concerning, but repair doesn’t have to be complicated. That’s what foundation contractors like us at Foundation Pro are best at! Since 1994, we’ve been the leading choice for homeowners in Central Arkansas and Little Rock, Arkansas for foundation repair. Call 501-753-1009 to schedule your free consultation today!